Databases
Your databases hold the data of your websites and apps. You can have MySQL, PostgreSQL and MongoDB databases, each on its own page, and each with a browser tool so you can look inside without installing anything.
Where to find them
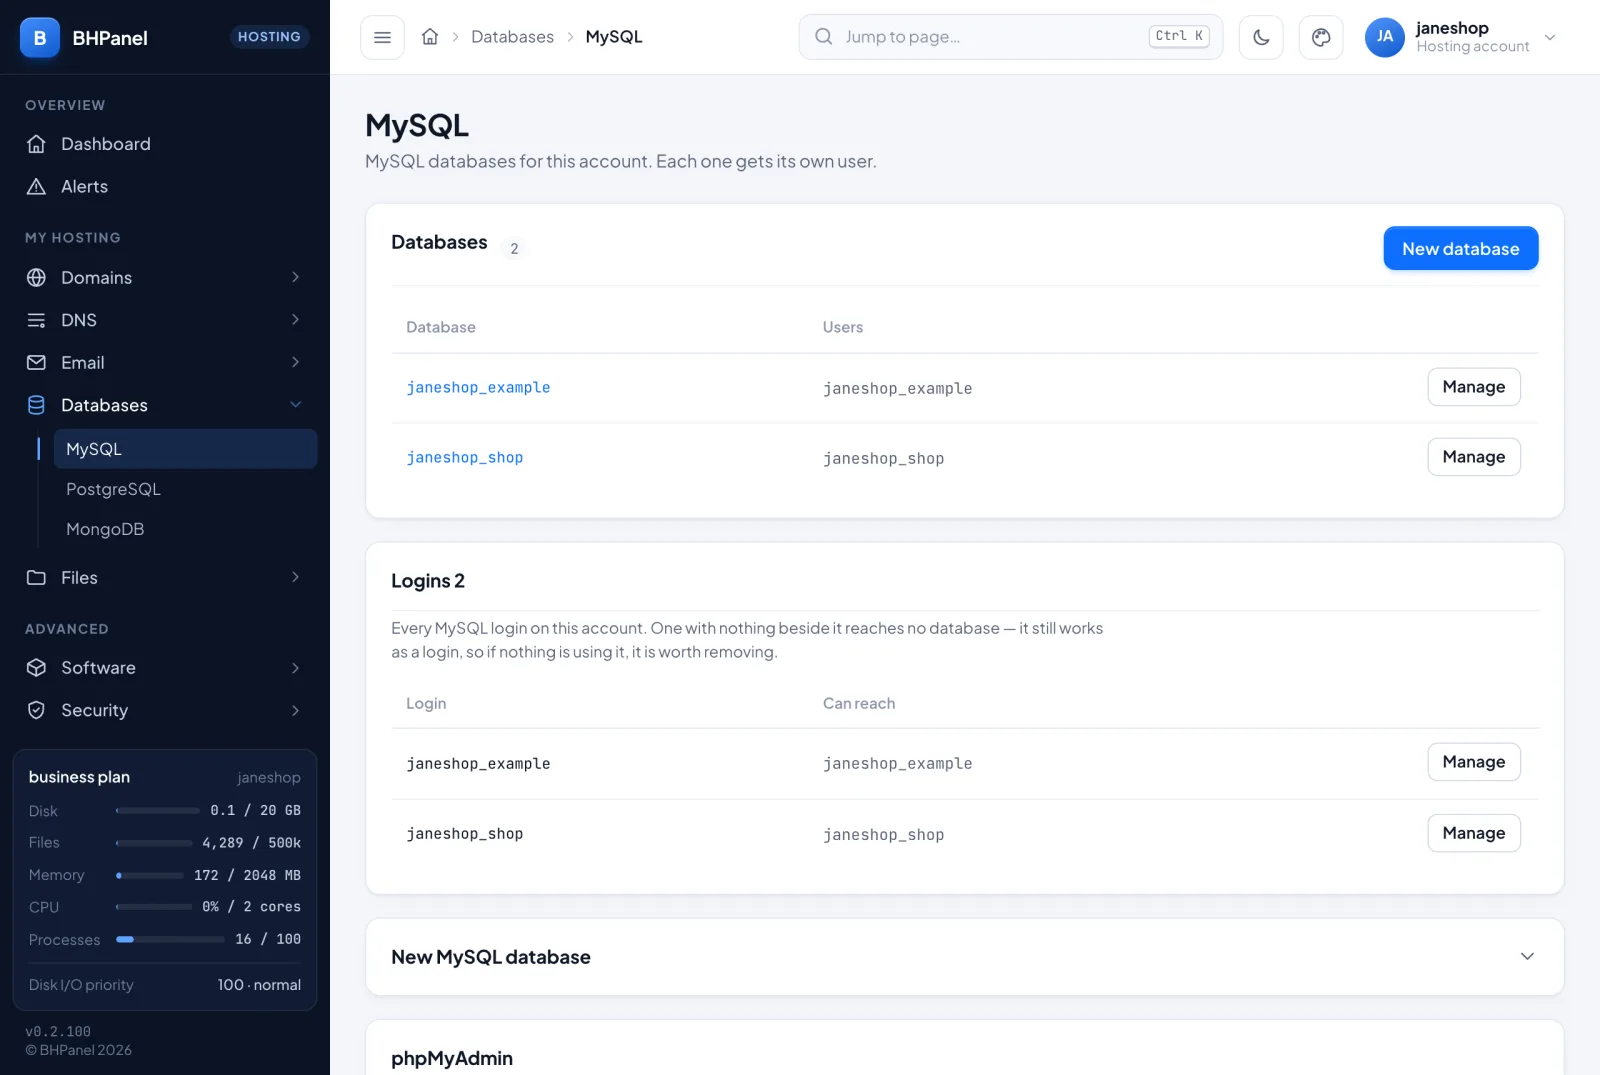
Open Databases in the menu. It has three pages: MySQL, PostgreSQL and MongoDB. PostgreSQL and MongoDB are optional. If your hosting provider has not installed one, its page says Not available on this server, and your other databases are not affected.
Create a database
- Open Databases › MySQL.
- Click New database, or open New MySQL database further down.
- Fill in Name: lower-case letters, digits and underscores, starting with a letter, up to 32 characters.
- Optional: User. Leave it empty and the login gets the same name as the database.
- Optional: Password. Leave it empty and the panel generates one.
- Click Create.
Your account name and an underscore are put in front of the name you type, so it can never collide with another customer's database: account acme typing shop gets the database acme_shop.
A card called Copy this password now appears with the database, user, password and host. Copy the password straight away. It is not stored in a readable form, so it cannot be shown again, not even to your hosting provider. If you lose it, set a new one (see below).
After creating a MySQL database you land on its Connect to card. It shows the host, port, user and ready-made snippets for wp-config.php (WordPress), PHP (PDO) and .env. Open this card again at any time by clicking the database's name in the list.
PostgreSQL and MongoDB work the same way, with fields Name and Password. The login is created with the same name as the database and can reach only that database.
The host name
For a website or script on the same server, the MySQL host is localhost (port 3306). PostgreSQL is localhost, port 5432. MongoDB is 127.0.0.1, with the port shown on the MongoDB page.
MySQL does not accept connections from other computers. From your own computer, use phpMyAdmin (below) or an SSH tunnel.
Logins
A database starts with one login. Every login on your account is listed in the Logins card on the same page, with the databases it can reach.
- Change a password: in Logins, click Manage on the login, enter a new password in Change its password (empty means "generate one"), and click Set. Anything that signs in with that login stops working until you give it the new password, for example in
wp-config.php. - Add a second login to a database: in the database's row click Manage, use Add a login, type a name and click Create. The login is named
<your account>_<name>and its password is shown once. This is useful for a cron job or a reporting tool, so changing one password does not break your site. - Give an existing login access: in the same menu, Give an existing login access, choose the login and click Grant. Its password does not change.
- Take access away: in the same menu, click Remove from this database. The login and the data stay.
- Delete a login: in Logins, Manage › Delete this login. Type the login name to confirm, then click Delete. Nothing inside any database is deleted.
Delete a database
- In the database's row click Manage.
- Under Drop, type the database name.
- Click Drop.
This deletes the database and everything in it, and the login of the same name. Anything that connects with that login stops working. There is no undo except a backup.
phpMyAdmin
On Databases › MySQL, click Open phpMyAdmin. It opens in a new tab already signed in, with no password to type. The sign-in is temporary, reaches only your own databases and expires by itself. Your database passwords are never used for it.
Adminer (PostgreSQL and MongoDB)
On Databases › PostgreSQL or Databases › MongoDB, click Open Adminer. It works like phpMyAdmin: a one-click, temporary sign-in that reaches only your databases. The button is shown only when Adminer is installed on the server.
Adminer's MongoDB support is marked "alpha" by its authors. It is fine for looking at documents and small changes. For larger jobs use a MongoDB client with the connection details on the page.
For MongoDB, connect with authSource set to your own database, for example mongodb://<user>:<password>@127.0.0.1:<port>/<database>?authSource=<database>. Without it the driver reports only "Authentication failed", which looks like a wrong password. The Connecting card on the page shows the string with your port filled in.
When the account is full
Databases count towards your account's disk, together with your files. When the account is full, a red banner appears on the database pages: Your account is full, so its databases are read-only. You can still read, but saving and creating new databases do not work.
To make room, delete data or files, or move to a bigger plan:
- MySQL: delete rows, empty tables or drop them. Deleting rows alone does not shrink a table.
- PostgreSQL: drop a database from its page.
- MongoDB: drop a database from its page.
The panel checks every few minutes. When files and databases are under 99% of the plan, everything is writable again.
If the banner says Whether your databases are read-only cannot be read just now, creating databases, logins and grants is paused until it can be read. Everything else works as usual.
Remote access
There is no setting for remote access on these pages. MySQL is reachable from your own sites only; to reach it from your computer, use phpMyAdmin or an SSH tunnel.